How To Enable Gzip Compression on Your Website Using .htaccess File
Are you tired of your website taking forever to load? Does it feel like your users are stuck in the slow lane of the information superhighway? Well, fear not, because there is a solution to your website's sluggishness: gzip compression.

Gzip compression is a powerful tool that can help you reduce the size of your website's files, making them faster to load and improving the user experience. But what exactly is gzip compression? Is it some kind of newfangled diet plan for your website?
Not quite. Gzip compression is a way to reduce the size of your website's files by compressing them before they are sent to the user's browser. This means that instead of sending large, uncompressed files over the internet, your website will send smaller, compressed files that are quicker to download. And the best part is that it doesn't require any special diet pills or expensive exercise equipment - just a few tweaks to your website's .htaccess file. So, let's get started!
What is Gzip Compression?
Gzip compression is a method of compressing files or data to reduce their size and make them easier to transmit or store. It is named after the GNU zip utility, which is a popular tool used to compress and decompress files.
Gzip works by replacing repeated sequences of data within a file with shorter codes or symbols, which can be used to represent those sequences more efficiently. This process is also known as lossless data compression, meaning that the compressed data can be uncompressed back to its original form without any loss of information.
Gzip is commonly used to compress web content such as HTML, CSS, and JavaScript files before they are sent over the network, as smaller files can be transmitted more quickly, reducing website load times. It is also used in software distribution, email transmission, and many other applications where file size reduction is important.
How does Gzip Compression Work?
Gzip compression works by identifying repeated sequences of data within a file and replacing them with shorter codes or symbols. This is accomplished through a process called "dictionary-based" compression.
The compression process begins by building a dictionary of all the unique strings or sequences of data within the file. This dictionary is then used to replace each instance of a repeated sequence with a shorter code or symbol that represents that sequence.
When the compressed file is decompressed, the dictionary is used to reconstruct the original data. The decompression process involves replacing each code or symbol with its corresponding sequence of data from the dictionary until the entire file has been reconstructed.
The compression and decompression processes are both lossless, meaning that no information is lost during compression and the original data can be completely reconstructed during decompression.
Gzip compression is particularly effective for compressing text-based files such as HTML, CSS, and JavaScript because these files often contain repeated sequences of data such as tags or function names. By replacing these repeated sequences with shorter codes or symbols, the file size can be reduced significantly, resulting in faster transmission times and reduced storage requirements.
How To Enable Gzip Compression On Your Website Using .htaccess File
It's very easy to enable Gzip Compression on your website, this method will work on any website like WordPress, custom cms, and other static sites.
You can also check if the Gzip Compression is already enabled on your website or not by using this site. Because sometimes hosting provides auto-enabled Gzip Compression. So if the Gzip Compression is already enabled on your website then you dont have to do it again and if it's not enabled then you can follow the steps.
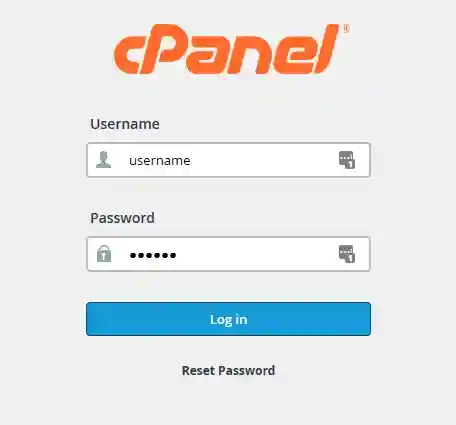
Step 1: First, you have to log in to your cPanel of the website
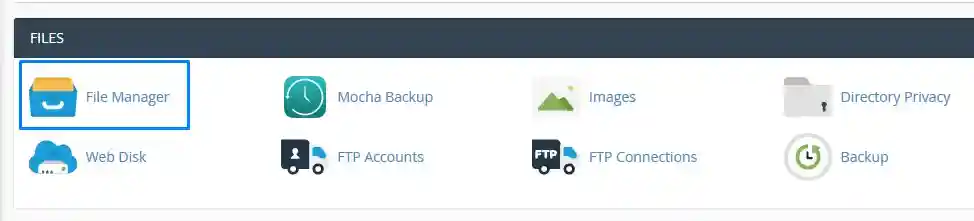
Step 2: Search for File Manager
Step 3: If you have multiple domains select the domain name and go inside the public_html directory of that domain.
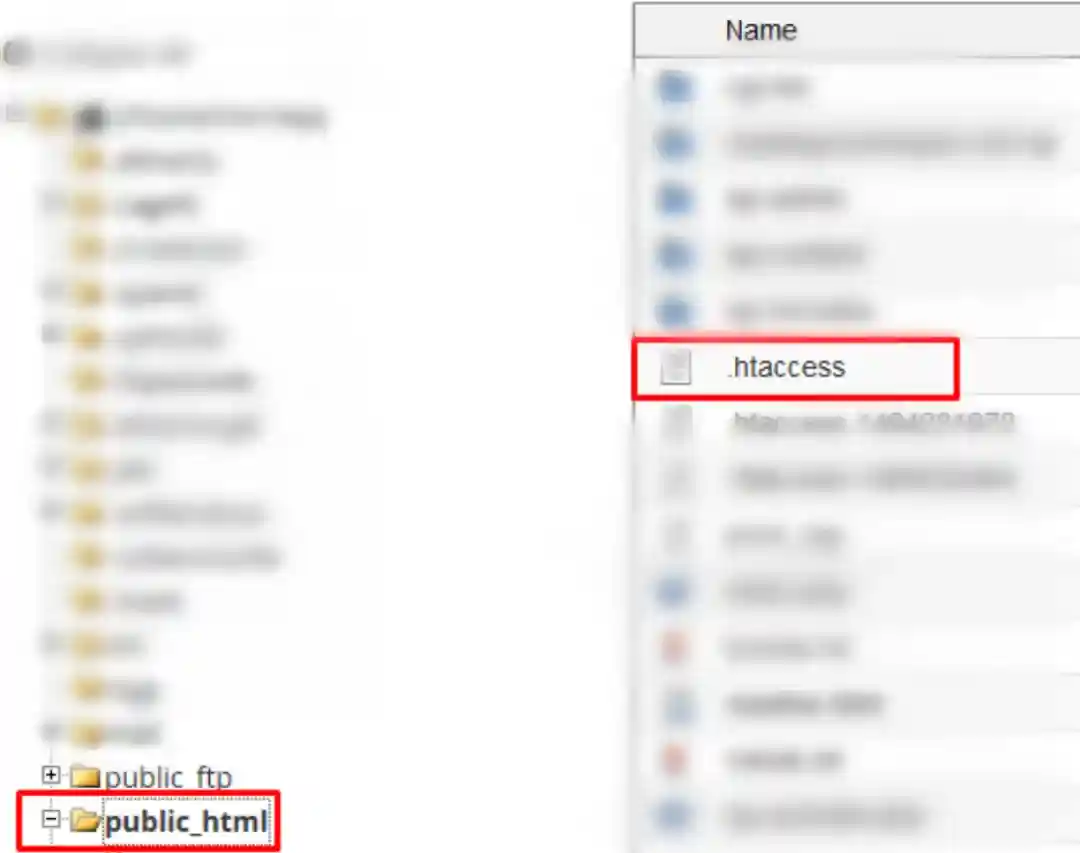
Step 4: Look for .htaccess File and right-click on it and then click on Edit.
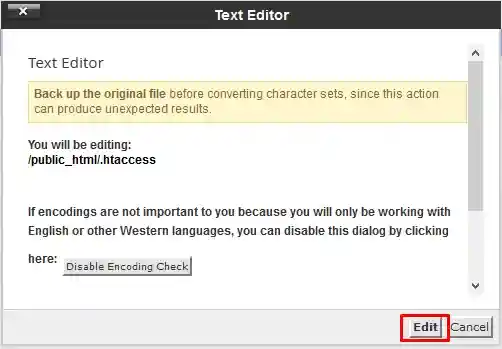
Step 5: Now you have to add a code in the file, but remember dont remove any text from the file just create some space at the end of the codes and add this code.
# BEGIN GZIP COMPRESSION

mod_gzip_onYes
mod_gzip_dechunkYes
mod_gzip_item_includefile.(html?|txt|css|js|php|pl)$
mod_gzip_item_includehandler^cgi-script$
mod_gzip_item_includemime^text/.*
mod_gzip_item_includemime^application/x-javascript.*
mod_gzip_item_excludemime^image/.*
mod_gzip_item_excluderspheader^Content-Encoding:.*gzip.*

# END GZIP COMPRESSION
If you are using an Nginx server then you dont have to add the top code, add this instead
gzipon;
gzip_comp_level2;
gzip_http_version1.0;
gzip_proxied any;
gzip_min_length1100;
gzip_buffers168k;
gzip_types text/plain text/html text/css application/x-javascript text/xml application/xml application/xml+rss text/javascript;
gzip_disable"MSIE [1-6].(?!.*SV1)";
gzip_varyon;
Step 6: After that click on Save and now your website has Gzip Compression.
For those who do not have access to the file manager.
If you are using WordPress hosting and dont have access to your file manager then here are 2 ways you can enable Gzip Compression on your website.
Method 1: Use W3 Total Cache To Enable Gzip Compression
Go to your WordPress dashboard and install W3 Total Cache Plugin it's one of the most popular caching plugins.
After Activating the plugin go inside its settings, then go to the Browser cache page and Enable the HTTP compression option that's it
Method 2: My Method
In this method, we are going to enable the File manage option on your website
Fo that you have to add a plugin name Filester – File Manager Pro which will enable the file manager option of your website. It's a trick to enable File Manager on your website if you dont have access to the cPanel or File Manager.
Now you have the file manager in your WordPress dashboard and you can start following the steps from Step 3 to enable Gzip Compression on your website.
Thank you so much for reading this article I hope this article helps you in some way and dont forget to share this website with your friends. If you have any issues or questions then feel free to Contact Us anytime we will be happy to help you.
Have a nice day ❤️.